A Crag Guide gives an extensive view of all sub areas and climbs at a point in the index. It shows a snapshot of the index heirachy, up to 300 climbs (or areas) on a single web page. It shows selected comments climbers have made on a recently submitted ascent.
At a minor crag level this should be suitable for printing and taking with you on a climbing trip as an adjunct to your guidebook.
This guide was generated anonymously. Login to show your logged ascents against each route.
Warning
Rock climbing is extremely dangerous and can result in serious injury or death. Users acting on any information directly or indirectly available from this site do so at their own risk.
This guide is compiled from a community of users and is presented without verification that the information is accurate or complete and is subject to system errors. By using this guide you acknowledge that the material described in this document is extremely dangerous, and that the content may be misleading or wrong. In particular there may be misdescriptions of routes, incorrectly drawn topo lines, incorrect difficulty ratings or incorrect or missing protection ratings. This includes both errors from the content and system errors.
Nobody has checked this particlular guide so you cannot rely on it's accuracy like you would a store bought guide.
You should not depend on any information gleaned from this guide for your personal safety.
You must keep this warning with the guide. For more information refer to our:
Usage policy
Contributors
Thanks to the following people who have contributed to this crag guide:
Chris
Sebastian Sakowicz
Jason Brown
Campbell Gome
Keita Richardson
Nick Clow
The size of a person's name reflects their Crag Karma, which is their level of contribution. You can help contribute to your local crag by adding descriptions, photos, topos and more.
Some content has been provided under license from: © Australian Climbing Association Queensland (Creative Commons, Attribution, Share-Alike 2.5 AU)
Table of contents
- 1. Blubber Wall 4 in Sector
- 2. Index by grade
1. Blubber Wall 4 routes in Sector
- Summary:
-
All Bouldering
Lat / Long: -33.752671, 151.097774
description
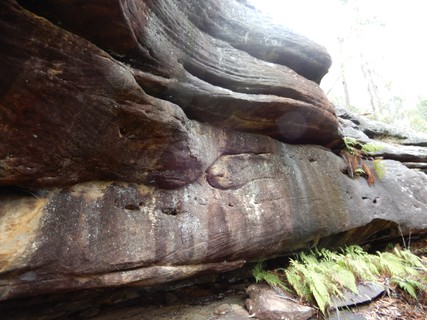
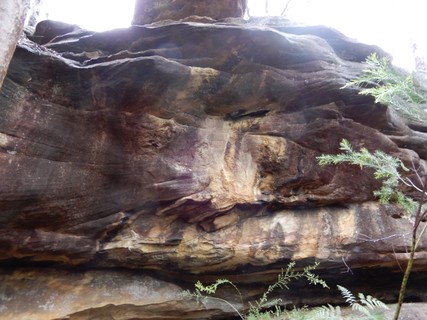
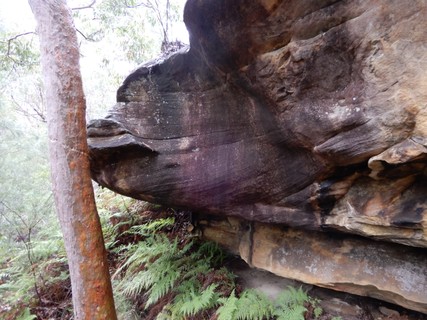
Separated from the main crag, four small problems on an isolated wall (quiet, less frequented).
access issues
If you have benefited from climbing infrastructure in NSW, please consider making a donation towards maintenance costs. The Sydney Rockclimbing Club Rebolting Fund finances the replacement of old bolts on existing climbs and the maintenance of other hardware such as fixed ropes and anchors. The SRC purchases hardware, such as bolts and glue, and distributes them to volunteer rebolters across the state of New South Wales. For more information, including donation details, visit https://sydneyrockies.org.au/rebolting/
approach
Wander 50m up the hill from Kennedy Wall and you should find an orange overhang. Welcome!
   |
||||||||
| Route | Grade | Style | Selected ascents | |||||
|---|---|---|---|---|---|---|---|---|
| 1 |
★★ Rolls Of Cheese
Tackle the rounded roof right of the main overhang. | V4 | 4m | |||||
| 2 |
Pure Chewing Satisfaction
The main line up the centre, start on the right. | V3 | 4m | |||||
| 3 |
★★ Fatty Deposits
Off the lowish right facing sloper, make a couple of powerful moves up and right before escaping left to finish. | V3 | 4m | |||||
| 4 |
Whale Killer
Jump to the juggy feature on the far left of the wall, then muscle up. | V1 | 3m | |||||
2. Index by grade
| Grade | Stars | Name | Style | Pop | |
|---|---|---|---|---|---|
| V1 | Whale Killer | 3m | |||
| V3 | ★★ | Fatty Deposits | 4m | ||
| Pure Chewing Satisfaction | 4m | ||||
| V4 | ★★ | Rolls Of Cheese | 4m |