Re-organising areas might require you to move routes or whole areas from one area (parent) to a different one. On theCrag this function is also called “re-parenting”.
Moving routesBack to contents
There are two options to initiate the moving of routes.
If you encounter one or more routes in an area that should be reparented, simply select the routes, click on the arrow next to the “Log ascent” button and select “Move item(s)”.

The “New Parent” form opens. Activate the radio button “Navigate To” and select the destination area using the dropdowns. Click “Next” to navigate to the selected area. You might have to run through this process multiple times to navigate to the correct area.
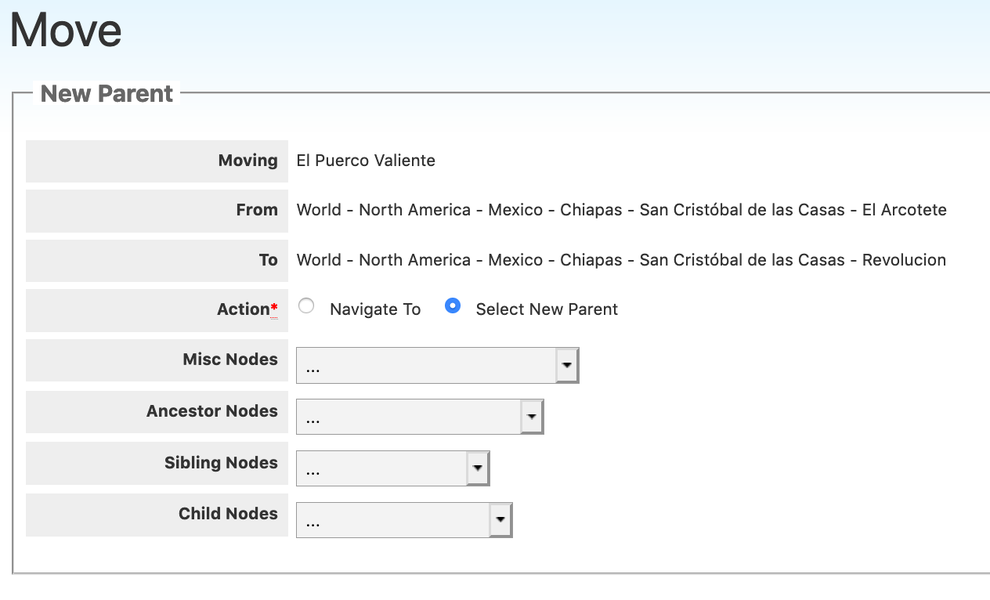
Once you see the destination area in one of the dropdowns select it and activate the radio button “Select New Parent”. Click on “Next” to open the confirmation screen.
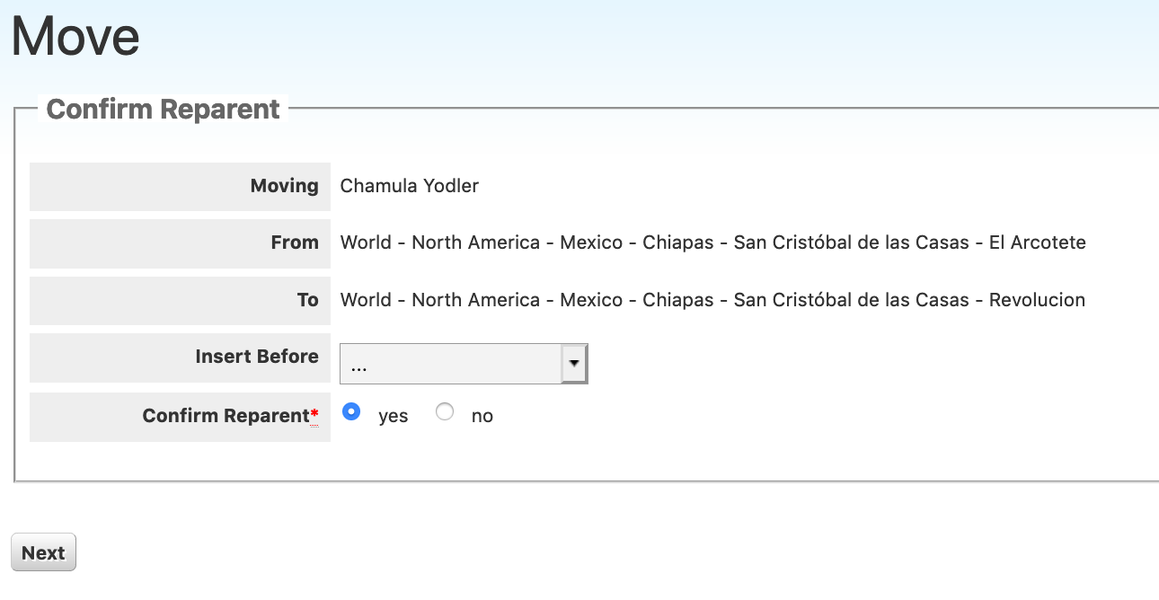
Select where you want to insert the routes in the destination area from the dropdown “Insert Before” and confirm the action to finish.
Alternatively, you may click on the 3 dots next to “Edit crag” and select “Move crag or children”. On the next screen select “Move children of selected node”. This leads you to the “Select children” window. Select the routes you want to re-parent and click “Next” to arrive on the “New Parent” screen. From here, follow the procedure as described above.
Please verify that the routes you selected were moved and placed in the right sequence in the new area.
Moving areasBack to contents
You may move a single area or multiple areas from the same parent at the same time.
Moving a single areaBack to contents
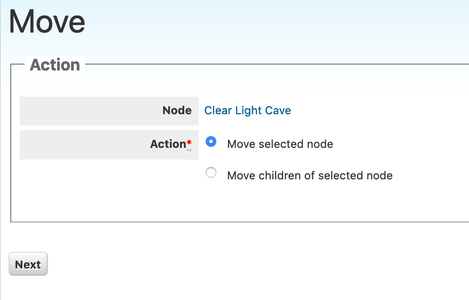
Open the area you want to move and click on the 3 dots next to “Edit crag” and select “Move crag or children”.

On the “Action” screen stay with the selection “Move selected node” and click “Next”.
The “New Parent” form opens. Activate the radio button “Navigate To” and select the destination area using the dropdowns. Click “Next” to navigate to the selected area. You might have to run through this process multiple times to navigate to the correct area.
Once you see the destination area in one of the dropdowns select it and activate the radio button “Select New Parent”. Click on “Next” to open the confirmation screen.
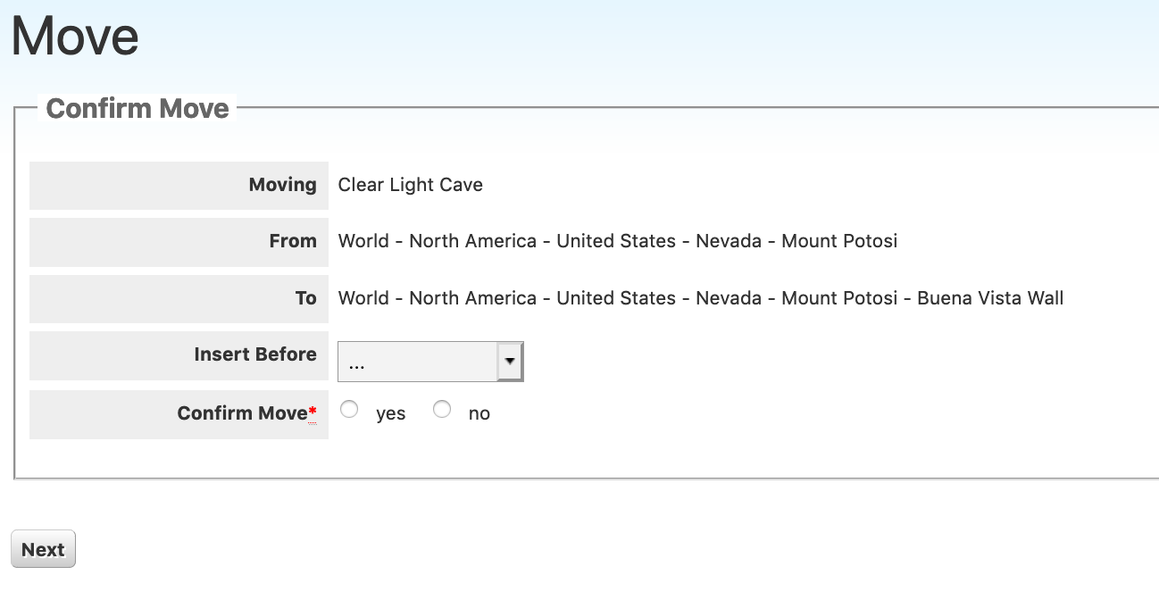
Select where you want to insert the area in the destination area from the dropdown “Insert Before” and confirm the action to finish.
Moving multiple areasBack to contents
Open the parent area of the sub-areas you want to reparent and click on the 3 dots next to “Edit crag” and select “Move crag or children”. On the “Action” screen select the “Move children of selected node” and click “Next”. This leads you to the “Select children” window. Select the sub-areas you want to move and click “Next” to arrive on the “Select New Parent” screen. From here, follow the procedure as described above.
Moving ToposBack to contents
In rare cases you might want to move a topo to a different area. Click on the arrow next to “Edit“ on the topo in question and select “Topo Admin”. On the next page select “Move topo to new node” and follow the instructions on the screen.
SortingBack to contents
Sorting routes or areas is simple. Click on “Reorder” above the items you want to sort. On the next screen simply drag the items to their correct location using the grey handles and click “Save” once you are done.

Click on “Reverse” above the list to reverse the sorting of all items (e.g. if you want to change the list of routes from “left to right” to “right to left”).
If you want to sort items by geographical location, we recommend using the “Edit location” form and sort the items there. See the article on geo locations for details.